Managing expense documents is one of those tasks that can easily spiral out of control. Whether you’re in a small business or a fast-growing startup, your finance team likely spends countless hours chasing receipts, matching invoices, and trying to reconcile them with reports.
Traditionally, employees would email receipts to the finance team, submit paper copies, or — in some cases — wait until the end of the month to hand over a stack of crumpled documents.
This creates multiple problems:
- Emails get buried or accidentally deleted
- Files are scattered across inboxes and local folders
- Processing delays cause missed reimbursement deadlines
- Inconsistent naming and formats make record-keeping messy
- Sensitive financial documents may be transmitted insecurely
The solution? Use FileDrop to create a dedicated, secure expense document upload form that automatically saves submissions to Google Drive — perfectly organized, searchable, and ready for processing.
By connecting FileDrop with Google Drive (and optionally Google Sheets), you create a fully automated expense documentation pipeline that eliminates manual collection, reduces processing time, and ensures compliance with your company’s record-keeping policies.
In this guide, we’ll show you the fastest way to set this up, step-by-step, so you can start collecting and organizing expense documentation today.
Why Automating Expense Document Collection Matters
Before we dive into the “how,” let’s look at the “why.”
Every month, your finance or accounting team deals with:
- Employee reimbursements for travel, meals, supplies, and other work expenses
- Vendor invoices for services and goods purchased
- Receipts for tax reporting and audit requirements
- Proof of payment for expense verification
If the submission process is manual, several things can go wrong:
- Lost receipts mean employees might not get reimbursed — leading to frustration.
- Processing delays slow down vendor payments, damaging relationships.
- Audit headaches happen when documents are missing or poorly organized.
- Security risks occur when sensitive financial data is emailed without encryption.
FileDrop solves these problems by:
- Providing a secure, encrypted upload page for employees to submit files
- Automatically saving files into Google Drive with no manual drag-and-drop
- Organizing documents into folders based on rules you set (department, expense type, etc.)
- Logging submissions into Google Sheets for real-time tracking and reporting
The result? A clean, automated, and scalable process that works for any size business.
Step-by-Step: Automating Expense Document Collection with FileDrop
Below is the complete setup process. This guide assumes you already use Google Drive for storage, but if not, you can still follow along — the automation benefits apply to any industry.
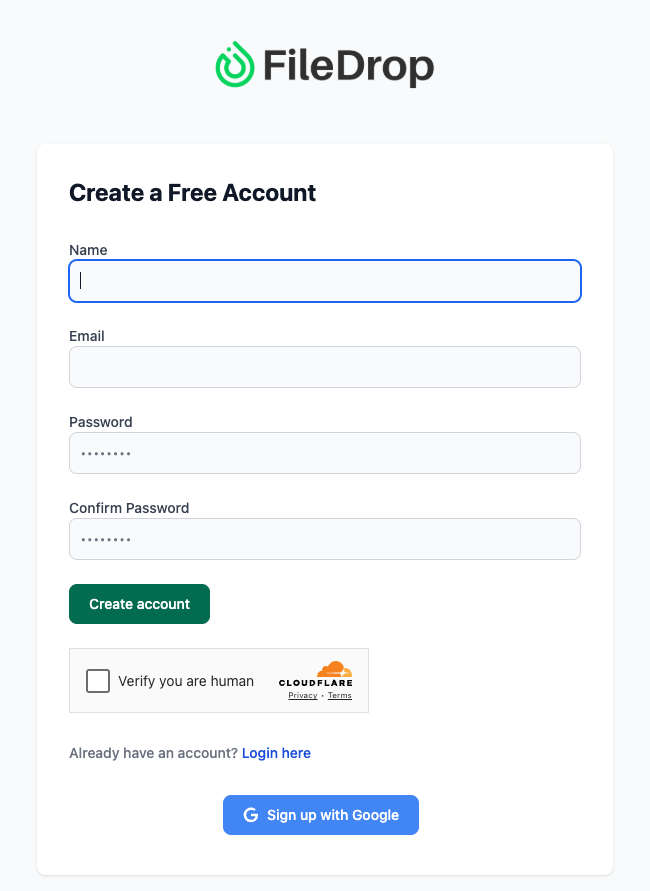
1. Create Your FileDrop Account
Visit https://app.getfiledrop.com/register and sign up using your work email or Google account.
Why it matters:A dedicated account ensures all uploads, forms, and integrations are linked to your organization — not personal accounts. This is critical for security and compliance.
Pro Tip: If multiple departments or teams submit expense docs, create separate FileDrop forms for each one from the start. This helps keep submissions organized automatically.
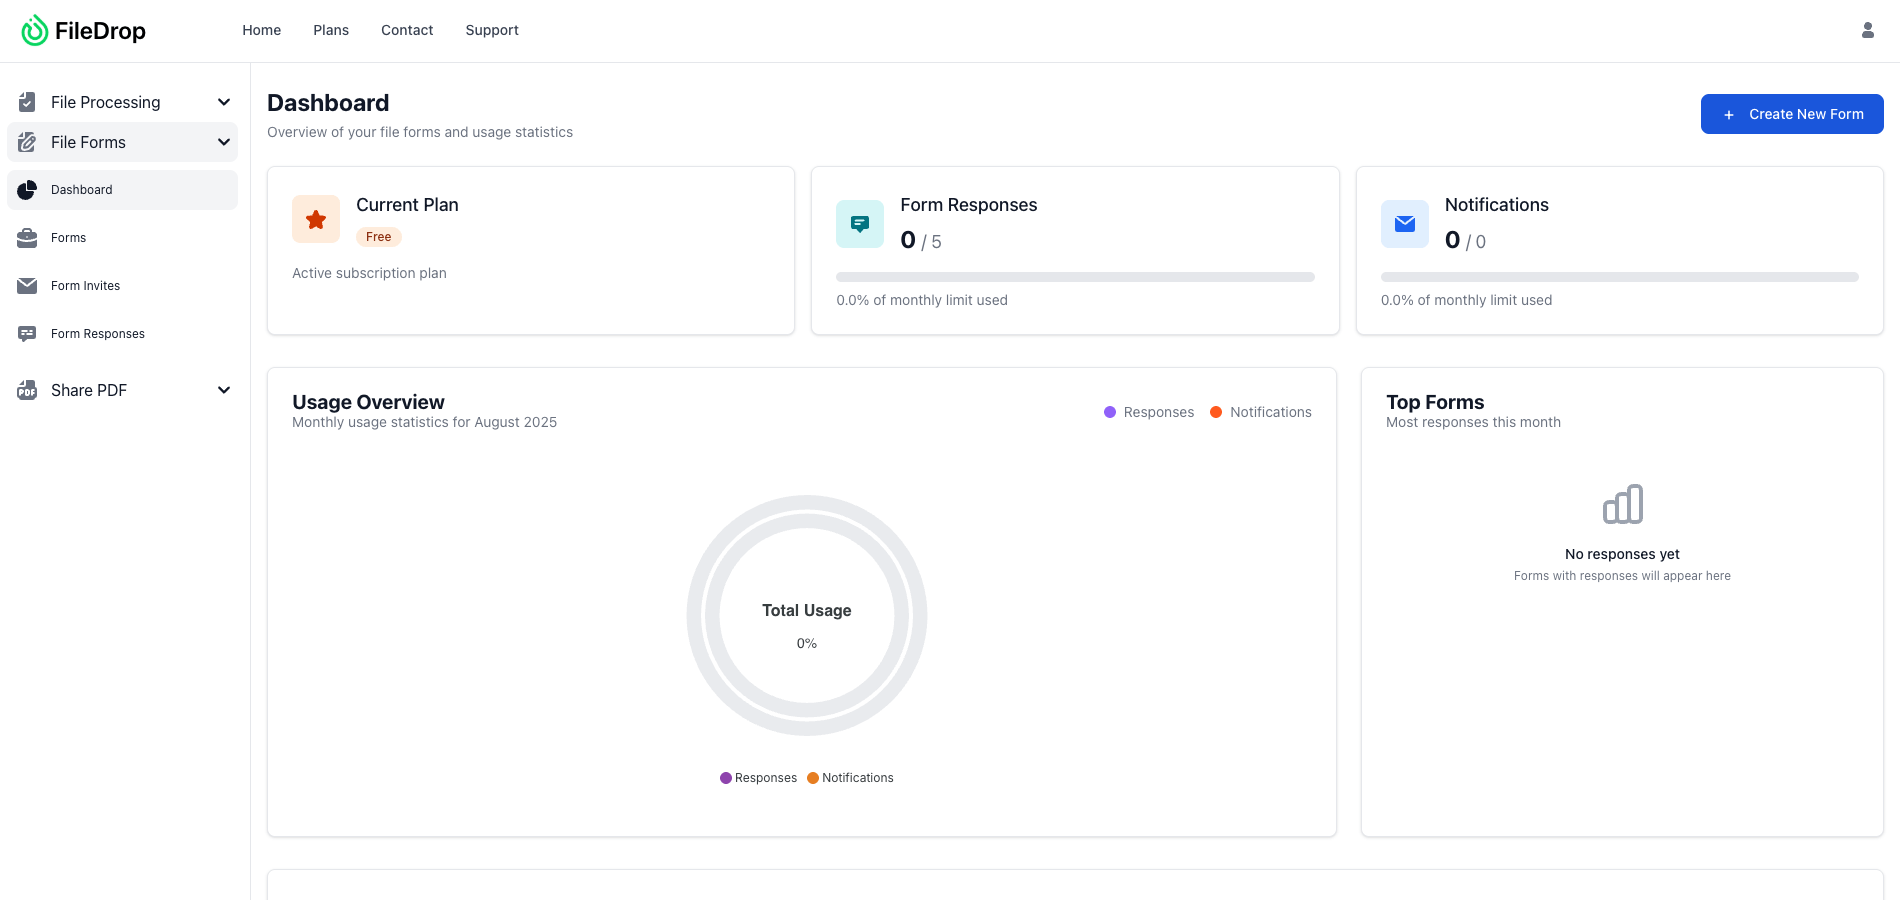
2. Open the File Forms Dashboard
Once logged in, navigate to File Forms from the main dashboard.
This is your command center for creating, editing, and managing upload forms. If you’re just starting, the dashboard will be empty — think of it as a blank canvas for your expense workflows.
Pro Tip: Name each form descriptively. For example, “Marketing Expense Upload” or “Travel Reimbursement Form” — especially helpful if you manage multiple forms across departments.
3. Create a New File Form
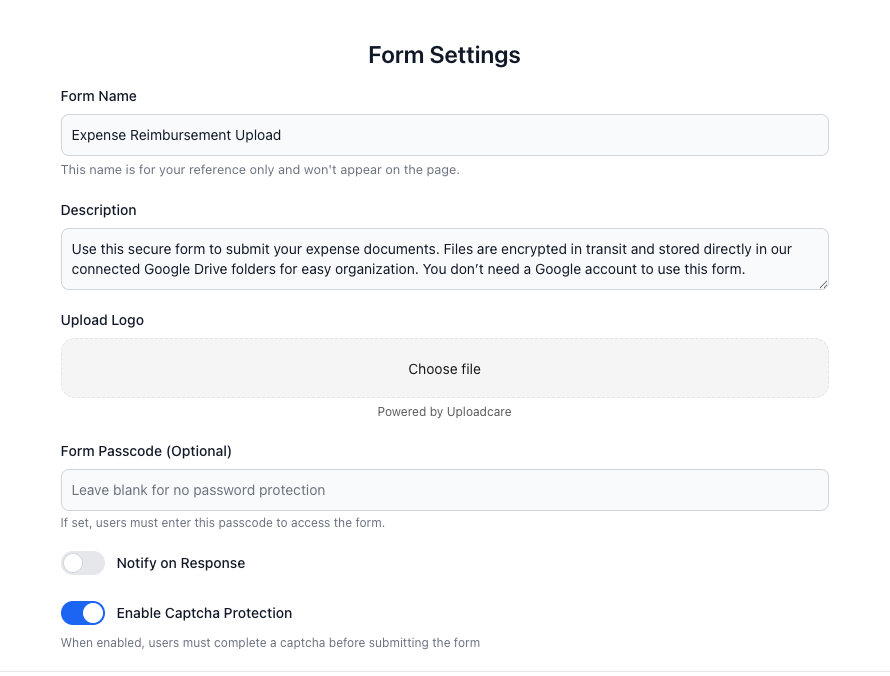
Click New File Form to start building your expense upload page.
Setup options:
- Description: Explain the purpose of the form. Example: “Use this secure form to submit expense receipts and invoices. Files are encrypted in transit and stored directly in our connected Google Drive folders. No Google account required.”
- Upload Logo: Add your finance or company logo for trust and branding.
- Form Passcode (Optional): Restrict access to authorized staff or vendors.
4. Connect Your Google Drive
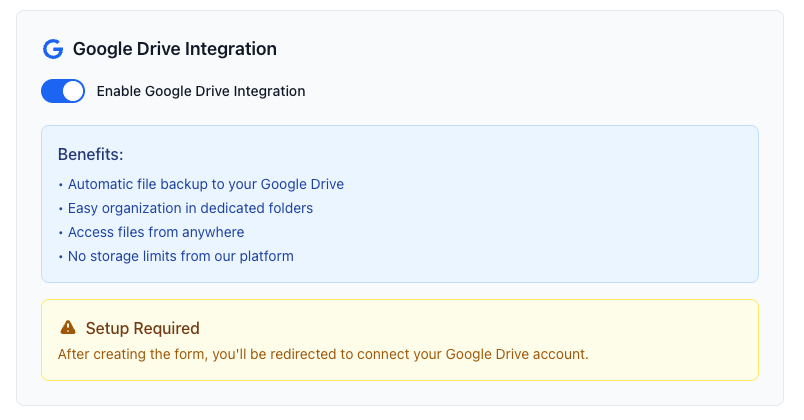
In the Form Settings, enable Google Drive integration. Once connected:
- All uploads go directly to Google Drive.
- Files are stored in dedicated folders for each form.
- Accessible anytime without logging into FileDrop.
- No platform storage limits — you only use your Drive quota.
5. Add a Form Title and Instructions
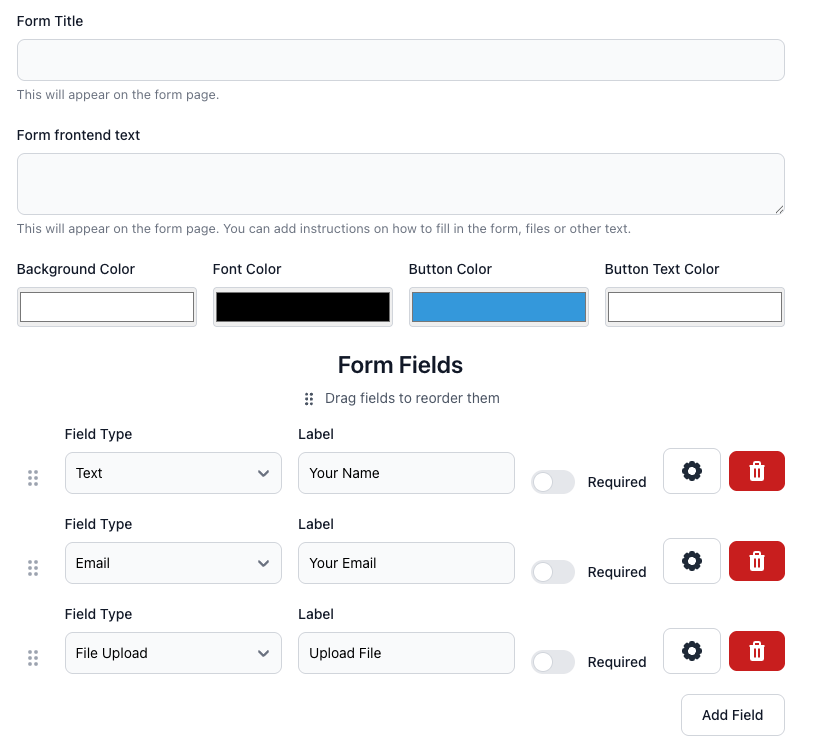
Set a clear title and instructions under the frontend display settings:
- Form Title: Example: Expense Upload Portal
- Frontend Text: Provide instructions such as acceptable file types, deadlines, and required fields.
6. Customize the Look of Your Form
Match your form to your company branding by adjusting:
- Background color
- Font color
- Button color
- Button text color

7. Add and Arrange Form Fields
Common fields for expense forms include:
- Text: “Employee Name” (Required)
- Email: “Submitter Email” (Required)
- Text or Number: “Expense Amount” (Required)
- Dropdown: “Expense Type” (Travel, Meals, Office Supplies, etc.)
- File Upload: “Upload Receipt/Invoice” (Required)
Drag fields to reorder and add extras like “Department” or “Project Code” as needed.

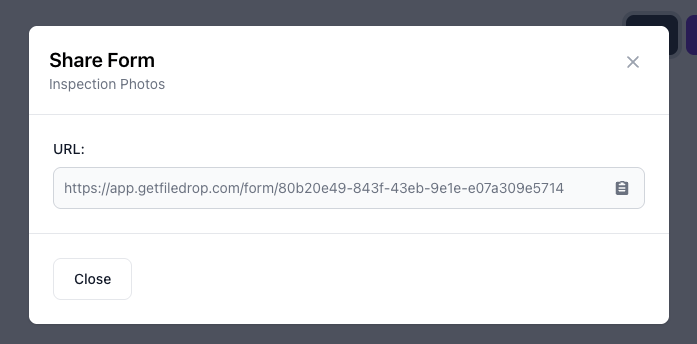
After setup, you’ll get a public share link. Distribute it via:
- Email instructions for submitting expenses
- Internal finance portals or intranet
- Embedding in onboarding or reimbursement instructions
9. Track Submissions in Google Sheets (Optional but Recommended)
FileDrop integrates directly with Google Sheets for a live log of all submissions.
Steps:
- Go to your File Forms dashboard.
- Find your Expense Upload Form and click the Google Sheets icon.
- Approve the prompt: “This will create a Google Sheet with your form data. Continue?”

FileDrop generates a spreadsheet with columns such as:
- Submitter Name
- Expense Type
- Amount
- Date Submitted
- Link to File in Drive
Now your finance team has a live, searchable, and filterable database of all expense submissions.

10. Review and Process Submissions
From here, your finance team can:
- Access organized expense folders in Google Drive instantly
- Use the Google Sheet log to verify completeness and track trends
- Export or forward files to accounting software like QuickBooks, Xero, or SAP
With this workflow, you eliminate the manual “file chase,” reduce errors, and streamline expense processing for faster approvals and reporting.
| Best Practices for Using FileDrop in Expense Management Train employees on how to use the form and set submission deadlines. Use consistent file naming rules (FileDrop can help automate this). Integrate with your accounting system for full end-to-end automation. Monitor Google Sheets logs to spot missing or duplicate submissions. |
Conclusion
By combining FileDrop with Google Drive, you’re not just digitizing your expense submission process — you’re automating it.
- Employees enjoy a frictionless way to submit receipts, invoices, and reimbursement forms.
- Finance teams get organized, searchable records instantly, without manual sorting or chasing files.
- The business gains security, compliance, and operational efficiency.
Whether you manage a small finance team or a multinational accounting operation, this workflow saves hours each week, reduces errors, and improves transparency — making expense management faster, easier, and more reliable.
FAQs
- Can I limit uploads to certain file types?
Yes. You can restrict uploads to formats like PDF, JPG, PNG, or DOCX to keep submissions consistent and prevent unsupported files.
- How secure is this process?
All uploads are encrypted in transit and at rest. Employees and external vendors never get direct access to your Google Drive folders.
- Can I organize files by date automatically?
Yes. FileDrop allows you to create folder rules, automatically sorting submissions into monthly, quarterly, or project-based folders.
- Can I collect expense documents from external vendors or contractors?
Absolutely. Share the form link externally — vendors can upload invoices directly without needing a Google account.
- What if my Google Drive storage reaches its limit?
You can continue using FileDrop. Options include upgrading your Drive plan or connecting an additional Google Drive or cloud storage account.
The Bottom Line:
One keeps you awake. The other gets work done.
A month of coffee: $150
A month of FileDrop: $19
Why not have both?
