

Managing photography clients, sessions, and payments doesn’t have to be a headache. Whether you’re a full-time photographer or just starting, keeping everything in one place helps you stay organized and professional.
Google Sheets is a free and powerful tool that can do just that: track bookings, session details, payments, and even follow-ups.
Why Is Photography Management Important?
Running a photography business is more than just taking great photos. You’ve got to handle bookings, invoices, payments, cancellations, reschedules, and communication—on top of editing and delivery. Without a system, things can fall through the cracks.
Having a well-organized tracker:
- Saves you time
- Keeps client info easily accessible
- Helps you follow up on unpaid sessions
- Gives you a clear picture of your monthly income
- Makes your workflow smooth and stress-free
Step 1. Open a New Google Sheet
Go to Google Sheets and start a blank spreadsheet. Give it a name like “Photography Tracker.”

Step 2. Set Up Your Columns
On the first row, label your columns. Here’s a good starting layout:
- Client Name
- Phone Number
- Session Type (e.g., Wedding, Family, Headshot)
- Session Date
- Location
- Price
- Deposit Paid
- Balance Due
- Payment Status
- Notes

Step 3. Use Dropdowns for Session Type and Payment Status
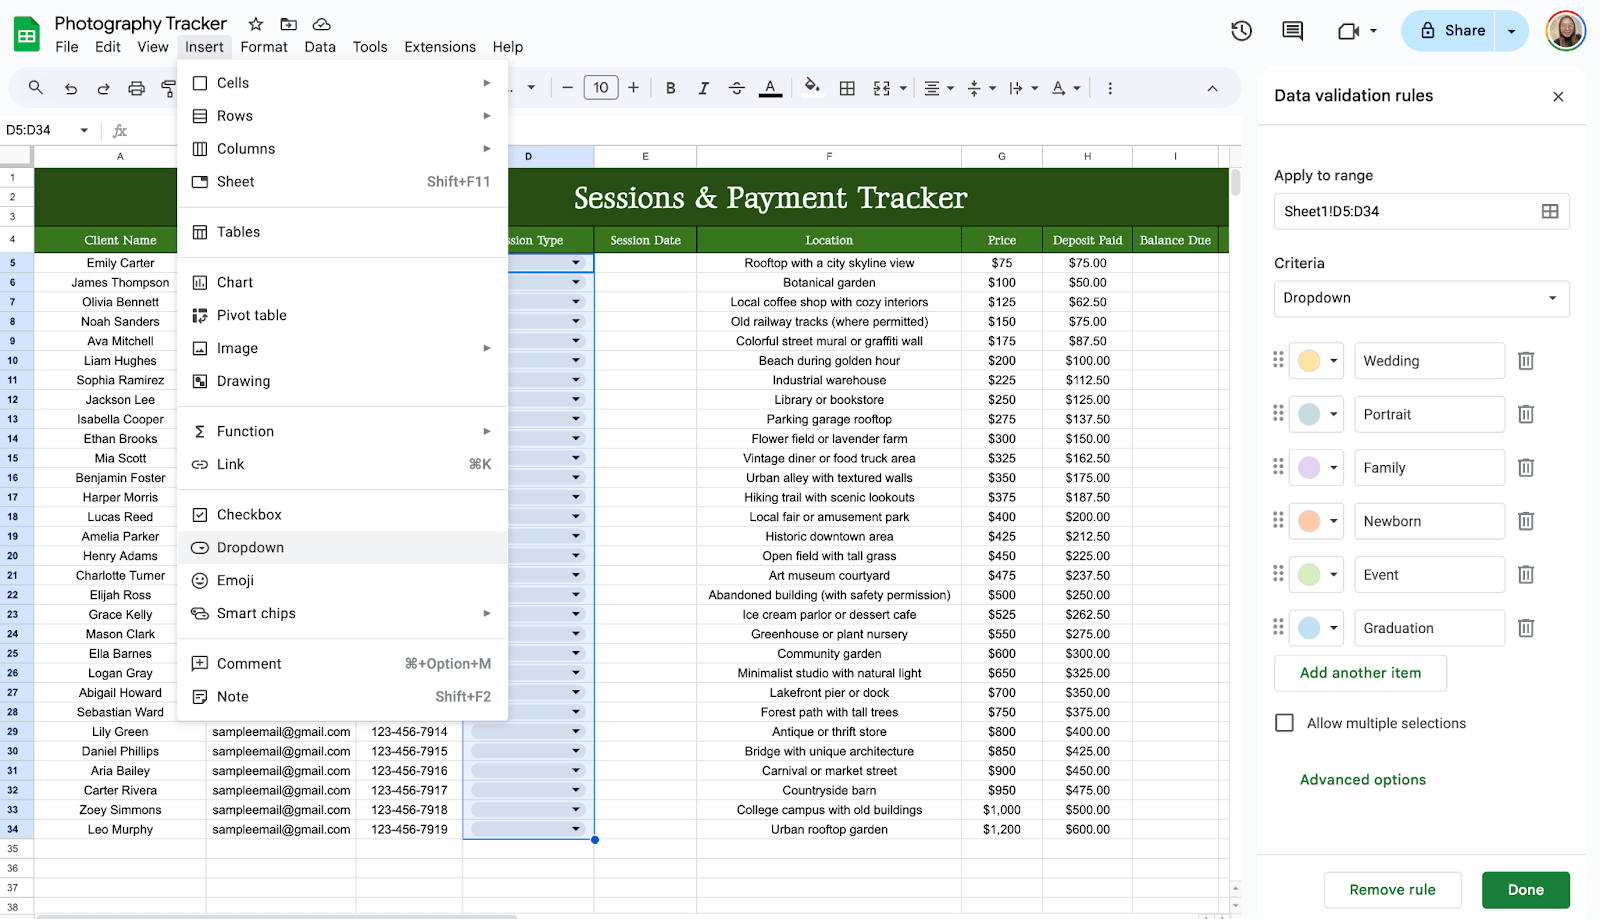
To make things easy and consistent, select the “Session Type” column. Click Insert > Dropdown, then add options, such as: Wedding, Portrait, Family, Newborn, Event.
Do the same for “Payment Status” with values like: Paid, Unpaid, Deposit Only. This avoids typos and keeps your records clean.
Step 4. Add Formulas to Track Payments
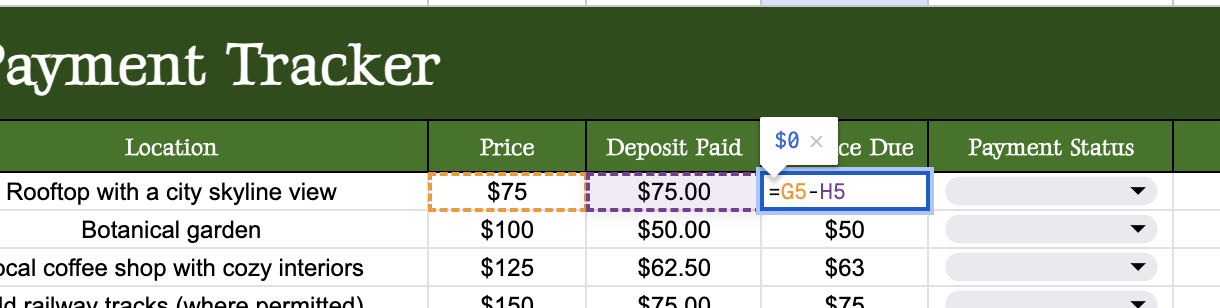
To auto-calculate the balance due, use this formula:
In the Balance Due column:
=G5-H5
Assuming G5 is the session price and H5 is the deposit paid. Drag this down the column to copy it for future rows.
Step 5: Add a Payment Confirmation Column
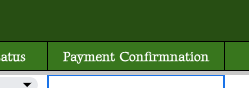
Name a new column Payment Confirmation (Receipt). This column will be used to store either a link or an image of the receipt file for each session.
Step 6: Add the Receipts Using FileDrop
To manage and attach payment receipts, you can use the FileDrop add-on. First, install FileDrop. You can get it from Google Workspace Marketplace. Click Install and follow the prompts.
Once FileDrop is already installed, go to your spreadsheet and click Extensions > FileDrop > Start FileDrop. A sidebar will open on the right.
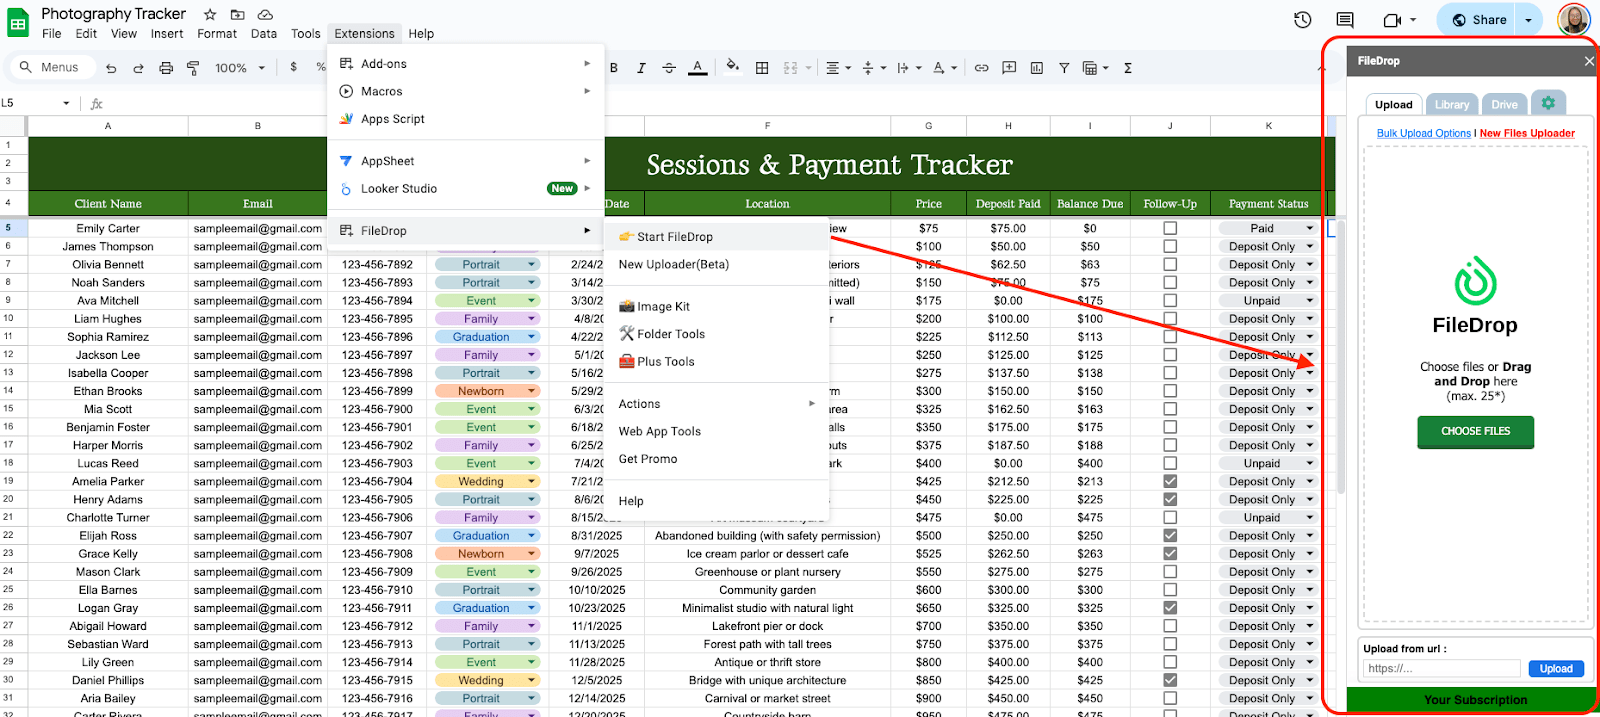
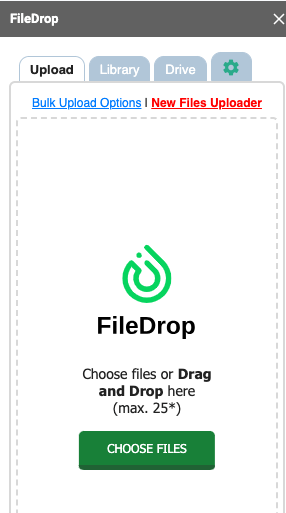
In the sidebar, you can choose where you want to get your receipts, either via Upload, Library, or Drive tab.
In the Upload tab, you can freely upload your files by clicking the Choose Files button. It will let you choose your preferred files on your computer.
The Drive tab allows you to access the files in your Google Drive easily.
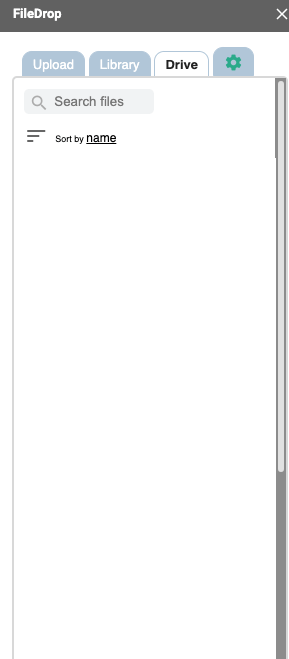
In this example, I’ll use the Drive tab. To upload the receipt, click the cell where you want to put the file, go to the Drive tab, and search for the folder or file you want to use.

You can also choose whether you want an image to appear in the cell or just a link. Just go to the Settings icon beside the Drive tab and choose in the Image settings.

How to Use OCR on Receipts
Once you’ve uploaded your receipts, you might want to extract text automatically (like the date or amount) using OCR. To do this, hover to the right side of the image you would like to use, then click OCR.

Then, it will load for a few seconds, and in just one click, you will get the exact texts found in the image/receipt:

Alternative you can use the FileDrop Receipts Tracker, it can scan your receipts, extract the data line by line and auto asign to categories. Export it via Excel, Quickbooks, Xero and other.
Step 7. Freeze Your Header Row
Click View > Freeze > 1 row. Now your headers stay visible as you scroll through your list.

Step 8. Add a Checkbox for Follow-Ups
Insert a column called “Follow-Up Sent.” Go to Insert > Checkbox and check off when you’ve followed up with the client (example, for balance payments or photo delivery).

Because it’s Google Sheets, your tracker lives online. Share it with team members. Access from your phone or tablet, and keep a backup in Google Drive

Get the Free Photography Session and Payment Management Template
Get a copy of the Free Photography Session and Payment Management Template. I’ve populated some cells as examples, but you can customize them as needed.
Final Thoughts
A simple sheet can make a big difference in how professional and prepared you feel. You don’t need fancy software or expensive tools—just a little setup time and consistency. Think of this as your assistant that never sleeps, never forgets, and helps you get paid on time.
Frequently Asked Questions
Can I automatically color-code my rows?
Yes! Use Conditional Formatting under the Format tab to change row colors based on payment status, session type, or any other value.
How can I sort by date or name?
Click the little funnel icon in the column header, or go to Data > Sort range. Choose the column and sort A to Z (or Z to A).
Is it possible to track overdue payments?
Yes! Add a column with this formula:
=IF(AND(TODAY()>F2, J2<>”Paid”), “Overdue”, “”)
This tells you which sessions are past their date and still unpaid.
The Bottom Line:
One keeps you awake. The other gets work done.
A month of coffee: $80
A month of FileDrop: $19
Why not have both?


