Tracking product issues effectively is essential for managing projects, especially when developing software or managing a large inventory. Google Sheets to create a product issue tracker that is easy, customizable, and accessible to your team.
What Is a Product Issue Tracker?
A product issue tracker is a simple yet powerful tool that helps teams stay on top of any problems with their product. It’s especially helpful for development teams, customer support staff, or project managers to ensure that nothing slips through the cracks.
The tracker lets you see each issue from the moment it’s reported to its resolution. Assigning tasks to the right people keeps everyone accountable and fosters better communication. It also helps teams prioritize issues that need immediate attention and can wait.
Step 1: Open a New Google Sheet
Start by opening Google Sheets. Click the “+ Blank” icon to create a new, blank spreadsheet. Then, give your spreadsheet a name for proper organization. In this example, I’ll use “Product Issue Tracker.”

Step 2: Set Up Columns for the Tracker
To track product issues, you’ll need several columns to organize information. Here are some useful ones to include:
- Issue ID
- Date Reported
- Product Name/ID
- Issue Description
- Status (Open, In Progress, Closed)
- Priority: (Low, Medium, High)
- Assigned To
- Resolution Date

Step 3: Format the Columns
Formatting helps make the tracker easy to read. Highlight the first row (your headers), and click the Bold (B) button or press Ctrl + B. You can also widen columns by clicking and dragging the column edges to fit longer text.

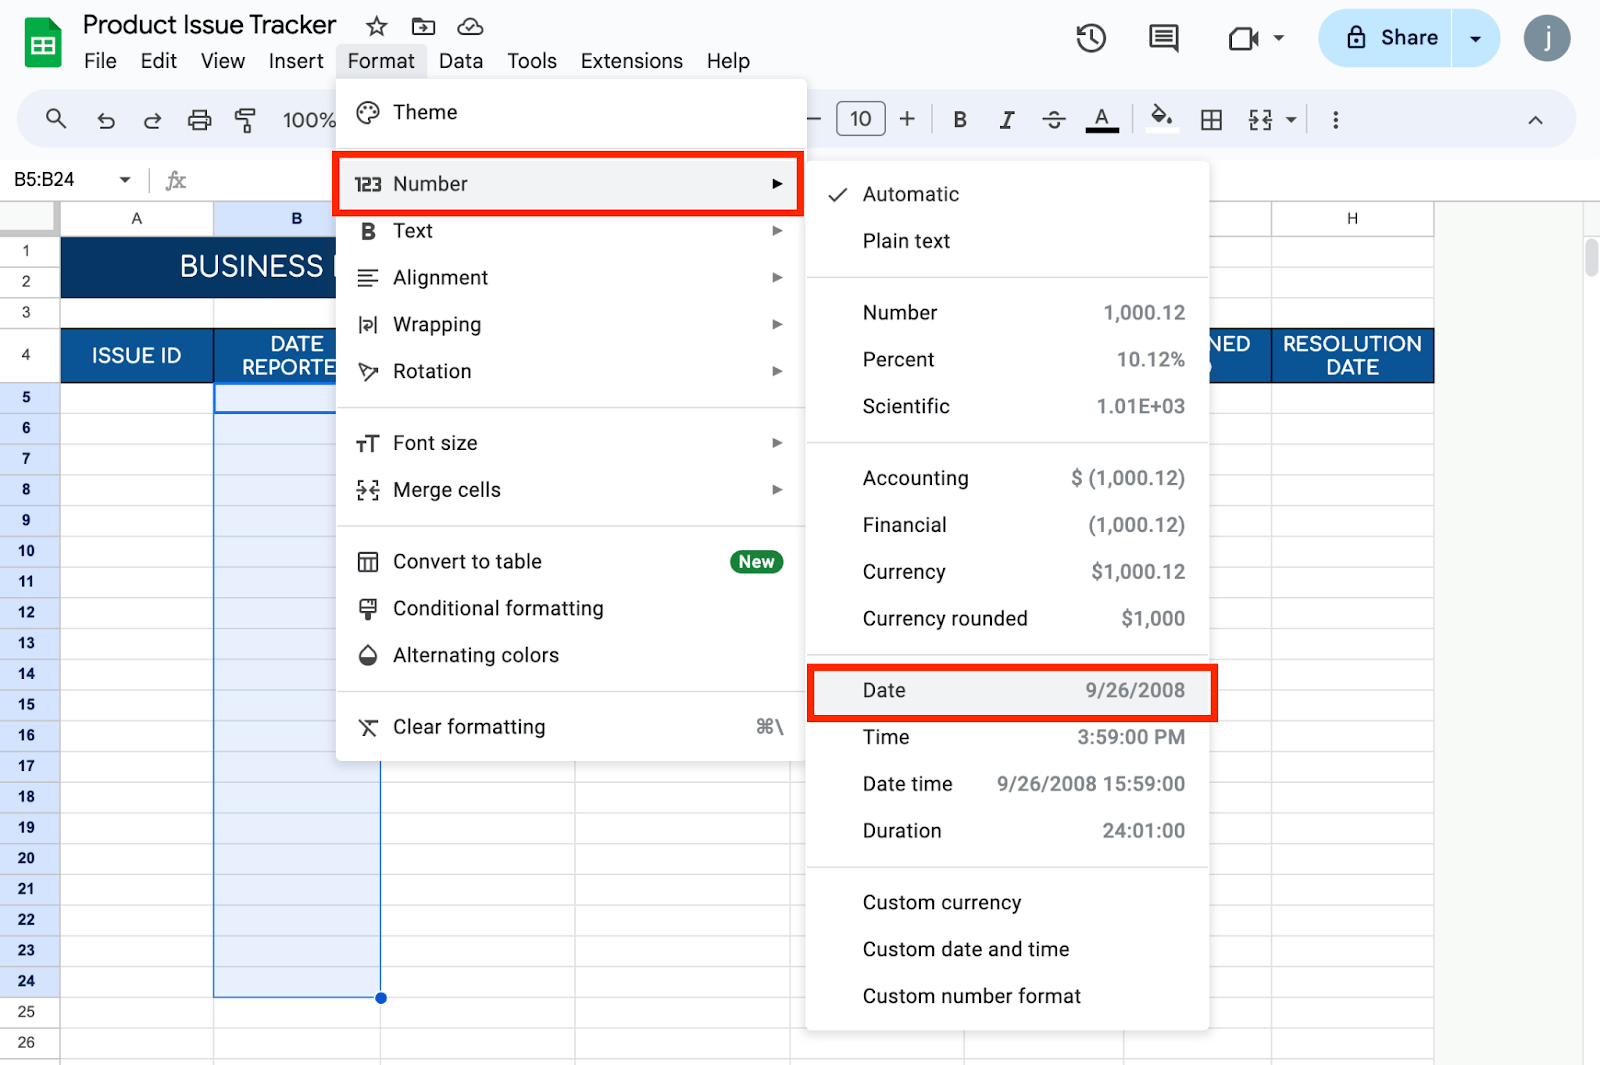
For dates, select the cells in the Date Reported and Resolution Date columns, right-click, and choose Format > Numbers > Date. This will ensure dates are entered correctly.
Step 4: Add Drop-down Lists for Status and Priority
Use drop-down lists for the Status and Priority columns to keep entries consistent. To do this, highlight the cells under the Status column, then click Insert > Dropdown from the toolbar menu. Add your options once the sidebar is available. Repeat these steps for the Priority column, using “Low, Medium, High” as your list of items.

Step 5: Enter Sample Data
To see how the tracker works, enter a few examples of product issues. For instance:
- Issue ID: 001
- Date Reported: 09/10/2024
- Product Name: Widget X
- Issue Description: Missing screws in packaging.
- Status: Open
- Priority: High
- Assigned To: John Doe
- Resolution Date: (leave blank until the issue is resolved)
This will give you an idea of how the tracker functions and what needs adjusting.

Step 6: Filter and Sort Issues
As your list grows, filtering and sorting will help you find and organize issues faster. To add filters, highlight your header row and click Data, then choose Create a Filter.
A filter icon will appear next to each header. Click it to sort or filter issues by any column, such as only showing “Open” issues or sorting by date.

Once your product issue tracker is set up, share it with your team. Click the Share button in the top right corner. You can enter email addresses or get a shareable link. Adjust the permissions so others can edit the document if needed.

Get the Free Product Issue Tracker
Get a copy of the free Product Issue Tracker. I’ve populated some cells as examples, but you can always customize them as needed.
Final Thoughts
Your Google Sheets issue tracker is a pivotal tool for ensuring that all product issues are managed effectively. Following these steps creates a flexible and collaborative system that helps your team stay informed and responsive. Adjust the tracker as needed to fit the unique needs of your project or organization.
Frequently Asked Questions
How can I track how long an issue remains unresolved?
Use a formula to calculate the difference between the current date and the date the issue was reported. In a new column (e.g., “Days Open”), use =IF(ISBLANK(F2), TODAY()-B2, F2-B2), where F2 is the Resolution Date and B2 is the Date Reported. This will give you the number of days the issue has been open.
Is assigning issues automatically to team members based on the product type possible?
You can use the VLOOKUP function to assign team members based on the product name or ID. For example, create a reference table with product names and corresponding team members. Then, in the Assigned To column, use a formula like =VLOOKUP(C2, Products!A:B, 2, FALSE) where C2 is the Product Name and the Products sheet contains your reference table.
The Bottom Line:
One keeps you awake. The other gets work done.
A month of coffee: $150
A month of FileDrop: $19
Why not have both?

